DIGITAL METROLOGY


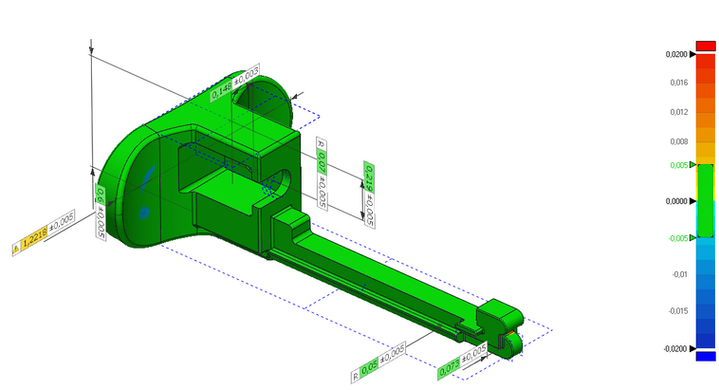
Get comparative analyses between a 3D-scanned part and a CAD design (STEP format) or another 3D scan. This process allows you to validate wear over time, assess manufacturing quality, and evaluate other important factors. By comparing key reference points and using a color map, I will carry out a detailed analysis of the part so you can clearly understand what’s happening in your process.
I perform a statistical analysis of a batch of parts with the same design, focusing on key features such as diameter, height, width, length, radius, etc. This analysis allows you to identify which specific areas of your manufacturing process may be failing. By evaluating the dimensional consistency of the parts, you can detect quality issues and take corrective actions to improve your production process.


Get a detailed metrology report highlighting the key differences at the points of interest on your part. The report includes a color map, detailed views with alignment references used, measurement units, and your company’s letterhead if required—everything you need to clearly present findings to your company regarding the condition of the parts under evaluation.